Содержание статьи
- 1 Why Use a Toner in Your Skincare Routine?
- 2 The Benefits of DIY Toners for Various Skin Concerns
- 3 Choosing Ingredients for Your DIY Toner
- 4 How to Make DIY Toners at Home: Step-By-Step Guide
- 5 DIY Toner Recipes for Every Skin Concern
- 6 Tips for Perfecting Your DIY Toner
- 7 Common Mistakes to Avoid When Using DIY Toners
- 8 How to Integrate DIY Toners into Your Skincare Routine
- 9 Storing and Preserving Your Homemade Toners
- 10 Final Thoughts: Empowering Your Natural Skincare Journey
- 11 Conclusion
When it comes to skincare, toners often don’t get the spotlight they deserve. Many people either skip this step or opt for store-bought toners filled with chemicals they can’t even pronounce. But did you know that homemade toners can be incredibly effective, gentle, and customized to address every skin concern? Whether you struggle with oily skin, dryness, redness, or aging, there’s a DIY toner recipe that suits your unique needs. In this article, we’ll explore how to create your own natural toners at home, using simple ingredients that you likely already have, and guide you through selecting the perfect formulas for your skin type and concerns. Let’s unlock the secrets of DIY toners for every skin concern and give your skin the natural boost it deserves.
Why Use a Toner in Your Skincare Routine?
Toners are an essential step that often gets overlooked, but they can dramatically improve how your skin looks and feels. Their primary job is to cleanse the skin and shrink the appearance of pores after you wash your face. But beyond that, toners help restore your skin’s pH balance, which cleansing can disrupt. A balanced pH means your skin’s barrier stays strong and better protected against environmental damage and moisture loss.
Many commercial toners strip skin of all natural oils or contain harsh ingredients like alcohol, which can lead to dryness and irritation. With DIY toners, you gain complete control over what goes on your skin. You can choose ingredients that soothe, hydrate, exfoliate, or control oil, depending on your skin’s needs. Plus, homemade toners are typically cost-effective and environmentally friendly since you avoid unnecessary packaging or synthetic chemicals.
The Benefits of DIY Toners for Various Skin Concerns
Each skin concern needs a targeted approach, and toners made at home make personalization easy. Here’s how DIY toners benefit common skin issues:
- Oily and Acne-Prone Skin: Toners can help reduce excess oil, tighten pores, and fight acne-causing bacteria with natural antibacterial ingredients.
- Dry Skin: Many natural toners contain hydrating and nourishing components that replenish moisture without clogging pores.
- Sensitive and Redness-Prone Skin: Gentle and calming botanical extracts in toners can reduce inflammation and soothe irritation.
- Aging Skin: Antioxidant-rich ingredients in toners can protect skin from free radicals and promote a youthful complexion.
- Dull or Uneven Skin Tone: Exfoliating and brightening natural acids help remove dead skin cells and reveal radiant skin.
Choosing Ingredients for Your DIY Toner
Crafting the perfect DIY toner starts with selecting quality ingredients that complement your skin’s concerns. Below is a handy guide to some popular natural ingredients you can use:
| Ingredient | Skin Benefit | Best for Skin Type | How to Use |
|---|---|---|---|
| Witch Hazel | Reduces inflammation, controls oil, tightens pores | Oily, Acne-Prone | Use as base or mix with aloe vera for soothing toner |
| Rose Water | Hydrates and soothes irritated, sensitive skin | Dry, Sensitive | Use directly as toner or combine with glycerin for extra moisture |
| Apple Cider Vinegar | Balances pH, exfoliates, fights bacteria | Oily, Acne-Prone, Dull skin | Dilute well with water before applying to skin |
| Green Tea | Antioxidant-rich, soothes redness, reduces aging signs | All skin types, especially sensitive/aging | Brew tea, cool, and apply with cotton pad |
| Aloe Vera | Hydrating, healing, calming | Dry, Sensitive, Irritated | Use gel mixed with rose water or witch hazel |
| Lemon Juice | Brightens skin, exfoliates, reduces dark spots | Dull, Uneven tone (avoid if sensitive) | Dilute before applying; avoid sun exposure after use |
How to Make DIY Toners at Home: Step-By-Step Guide
Now that you know the ingredients, let’s look at how to prepare your own toner safely and effectively.
Basic Materials Needed
Before you start, gather your materials:
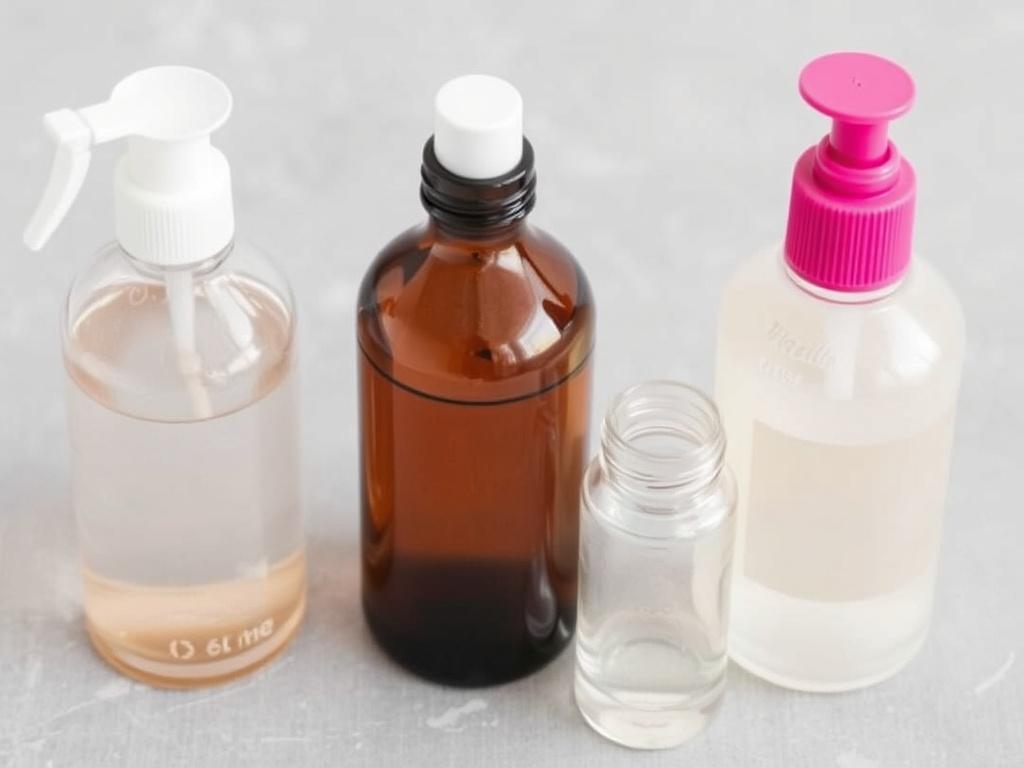
- Glass spray bottle or dark glass bottle with lid
- Cotton pads or reusable cotton rounds
- Measuring spoons and cups
- Funnel (optional, for pouring)
- Pure distilled water or cooled brewed tea
Step 1: Choose Your Base
Your toner’s base is usually water, floral water (like rose water), witch hazel, or a mild brewed tea such as green tea. Select one depending on your skin type:
- For oily or acne-prone skin, try witch hazel or green tea.
- For dry or sensitive skin, rose water or aloe vera gel are excellent bases.
Step 2: Select Active Ingredients
Add one or two active ingredients tailored to your concern. For example:
- Apple cider vinegar for balancing pH and exfoliating.
- Lavender or chamomile essential oils for calming redness.
- A few drops of lemon juice for brightening dull skin.
Remember, essential oils are very potent — only use a couple of drops per 100ml of toner and patch test first.
Step 3: Mix and Store
Combine your ingredients in a clean glass bottle. Shake well before each use to blend the contents. Store your toner in a cool dark place or in the refrigerator to preserve freshness. For natural toners without preservatives, plan to use within 1-2 weeks.
Step 4: Application
Apply toner after cleansing and before moisturizing. Use a cotton pad soaked with toner or a spray bottle to mist onto your face. Gently pat into skin and let dry naturally.
DIY Toner Recipes for Every Skin Concern

Let’s dive into some easy-to-make toner recipes that target specific skin issues.
1. Toner for Oily and Acne-Prone Skin
Ingredients:
- 1/2 cup witch hazel (alcohol-free)
- 1/4 cup distilled water
- 1 teaspoon apple cider vinegar
- 3 drops tea tree essential oil
Mix all ingredients in a bottle and shake well. Tea tree oil offers antimicrobial properties that help reduce acne, while witch hazel controls excess oil.
2. Hydrating Toner for Dry Skin
Ingredients:
- 1/2 cup rose water
- 1/4 cup aloe vera gel
- 1 tablespoon vegetable glycerin
Combine ingredients and stir or shake into an even mixture. This recipe deeply hydrates and soothes dry skin without feeling sticky.
3. Soothing Toner for Sensitive or Redness-Prone Skin
Ingredients:
- 1/2 cup cooled chamomile tea
- 1/4 cup rose water
- 5 drops lavender essential oil
Steep chamomile tea, allow to cool, then mix with rose water and lavender oil. This calming toner helps reduce redness and inflammation naturally.
4. Brightening Toner for Dull or Uneven Skin Tone
Ingredients:
- 1/2 cup green tea (brewed and cooled)
- 1 tablespoon lemon juice
- 1 teaspoon honey (optional for moisture)
Mix ingredients gently. Lemon juice acts as a natural exfoliant and brightener, green tea adds antioxidants, and honey provides hydration.
5. Anti-Aging Toner
Ingredients:
- 1/2 cup green tea
- 1/4 cup witch hazel
- 1 teaspoon vitamin C powder (ascorbic acid)
- 2 drops frankincense essential oil
Mix until vitamin C powder dissolves. Vitamin C and green tea are powerful antioxidants that fight free radicals and help slow signs of aging.
Tips for Perfecting Your DIY Toner
- Patch Test: Always do a patch test on your wrist or behind your ear before applying to your face to avoid allergic reactions.
- Freshness First: Since DIY toners typically lack preservatives, keep batches small and store in the fridge to extend shelf life.
- Customize Gently: Start with small amounts of active ingredients, especially essential oils and acids, to see how your skin reacts.
- Avoid Contact with Eyes: Toners can irritate the eyes, so apply carefully and rinse eyes immediately if toner gets in.
- Use Consistently: For best results, incorporate your DIY toner daily into your skincare routine after cleansing.
Common Mistakes to Avoid When Using DIY Toners

DIY toners can be wonderful allies, but a few pitfalls can undermine their effectiveness or harm your skin:
- Using Undiluted Vinegar or Lemon: These are acidic and can burn skin if not properly diluted.
- Ignoring Your Skin’s Reaction: If you notice increased redness, dryness, or breakouts, discontinue use and reassess your recipe.
- Making Large Batches: Without preservatives, DIY toners spoil quickly, so it’s better to make smaller amounts frequently.
- Overusing Toner: Applying toner multiple times a day can strip skin oils and disrupt your skin barrier.
- Applying Toner Before Cleansing: Always cleanse first to remove dirt and oil, so your toner can work effectively.
How to Integrate DIY Toners into Your Skincare Routine
A simple and effective skincare routine incorporating your DIY toner might look like this:
- Step 1: Cleanse your face with a gentle cleanser suited to your skin type.
- Step 2: Apply your DIY toner with a cotton pad or spray bottle to balance pH and prepare the skin.
- Step 3: Apply serums or treatments targeting your specific concerns (anti-aging, acne, hydration).
- Step 4: Moisturize to lock in hydration and protect your skin barrier.
- Step 5: Always apply sunscreen in the morning to protect from UV damage.
Storing and Preserving Your Homemade Toners
Storage plays a crucial role in keeping your DIY toners effective and safe to use. Here are some tips:
- Use a dark glass bottle to protect your toner from light, which can degrade ingredients.
- Keep toners refrigerated to slow down microbial growth and maintain freshness.
- Label your bottles with the date made, and discard after 1-2 weeks if no preservatives are used.
- If you want longer shelf life, consider adding natural preservatives like vitamin E oil or grapefruit seed extract, but use cautiously.
Final Thoughts: Empowering Your Natural Skincare Journey

Making your own DIY toners for every skin concern is not only empowering but also deeply satisfying. It lets you treat your skin with kindness and intentionally choose what it needs without the worry of harsh additives. Whether you are seeking to calm sensitivity, balance oily skin, or brighten dull complexion, these natural toners are a delightful addition to your skincare toolkit. Remember, the key is listening to your skin, being gentle, and experimenting thoughtfully with recipes. With a little care, DIY toners can become your secret weapon for healthier, glowing skin every day.
Summary Table: DIY Toner Recipes and Benefits
| Skin Concern | Key Ingredients | Benefits |
|---|---|---|
| Oily/Acne-Prone | Witch Hazel, Apple Cider Vinegar, Tea Tree Oil | Controls oil, antibacterial, tightens pores |
| Dry | Rose Water, Aloe Vera, Glycerin | Hydrating, soothing, nourishes skin |
| Sensitive/Redness | Chamomile Tea, Rose Water, Lavender Oil | Calms irritation, reduces redness |
| Dull/Uneven | Green Tea, Lemon Juice, Honey | Brightens, exfoliates, smooths skin tone |
| Aging | Green Tea, Witch Hazel, Vitamin C, Frankincense | Antioxidant-rich, fights free radicals, rejuvenates |
Conclusion
Embracing DIY toners for every skin concern is a smart, natural way to enhance your skincare routine with ease and authenticity. By mixing fresh, simple ingredients, you can craft personalized toners that effectively address your skin’s unique needs—whether that’s calming inflammation, balancing oil, or boosting hydration. The best part is these toners are gentle, affordable, and free from unnecessary chemicals. With the recipes, tips, and knowledge shared here, you are well-equipped to create your own potions of skincare goodness and experience the glowing, healthy skin you deserve—all from the comfort of your home. Remember, your skin is a living canvas; treating it with respect and care through DIY toners can make all the difference.

